Poster Maker & Poster Designer
Feeling uncertain about which photo to post on your social media platforms? If so, we introduce the ‘Poster Maker and Poster Design’ to help you make the decision easier.

We have all the features you might need
Feeling indecisive about which photo to share on your social media platforms? If so, we’re thrilled to introduce the ‘Poster Maker and Poster Design,’ a tool that makes the process easy and effortless.
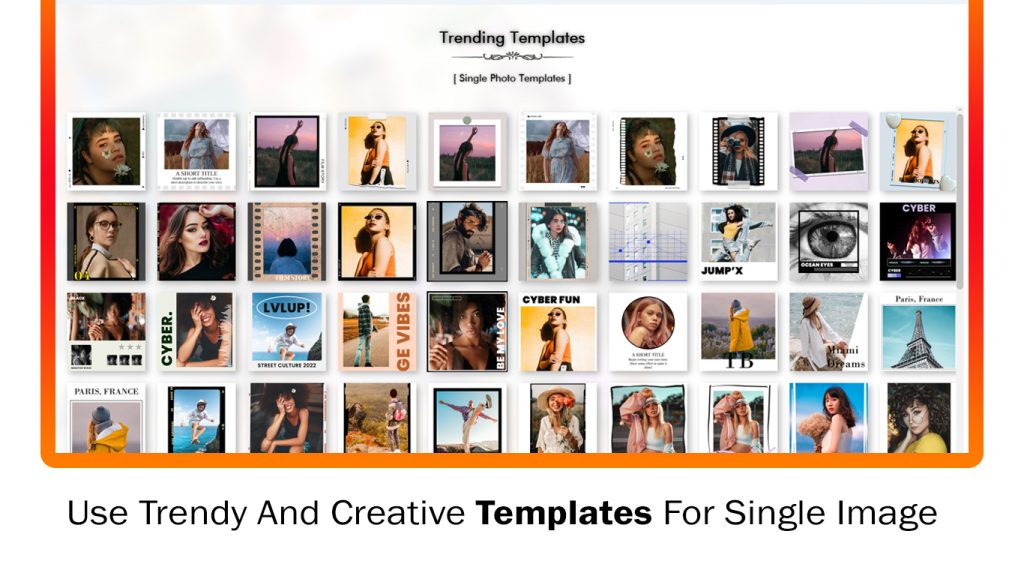
Poster Collage Frames Maker is the ultimate poster photo frame for creating stunning collage photos! Elevate the fun factor of your photos with creative frames and unique collage layouts. Whether you prefer a single photo frame, 2, 3, 4, or 5 photo frames, Poster Collage Frames Maker allows you to set your pictures accordingly, turning them into captivating masterpieces. With advanced features, you can unleash your creativity and take your photos to a whole new level.
Upon clicking on a photo, you can Zoom In, Zoom Out, Edit, Change Picture, Delete Picture, and access more features. The menu on photo click (on Edit) offers additional functionality:
- Effect: Enhance your picture with embedded effects and share it on social media platforms like Instagram, Twitter, and Facebook.
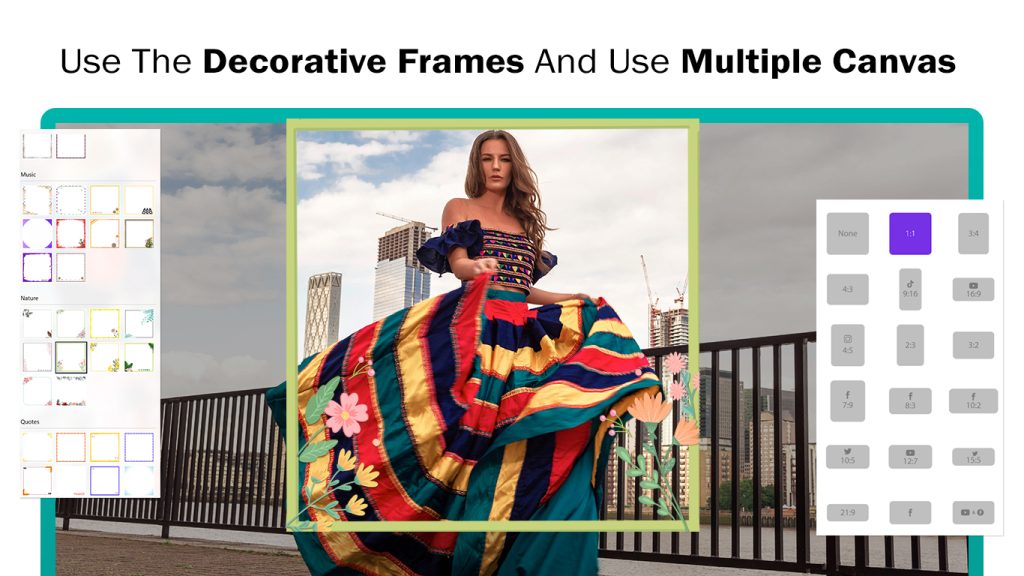
- Frame: Give your photo a complete look with lovely frames, providing a finishing touch to your images.
- Stickers: Add fun and trendy stickers to make your pictures look cool.
- Overlay: Create compelling photos by adding overlays for those desired likes and comments.
- Crop: Adjust your photo for a closer look by removing excess parts.
- Rotate: Easily rotate and flip your images to showcase your best side.
- Light: Add lighting effects for a sunkissed and realistic appearance.
- Color: Enhance your images with Contrast, Brightness, Highlight, and Shadow adjustments.
- Splash: Apply magic effects for a splash of likes.
- Draw: Unleash your creativity by drawing or painting on your photos.
- Text: Make your images memorable by adding text to convey your message.
Guide to Use:- Poster Maker & Poster Designer
Choose the desired button to perform your preferred action – Templates, 1 photo, 2 photos, 3 photos, 4 photos, or 5 photos and Photo Editor.
Templates :-
Step 1:- Click on the ‘Templates‘ button or choose the option of your preference. Select your favorite template and open it.
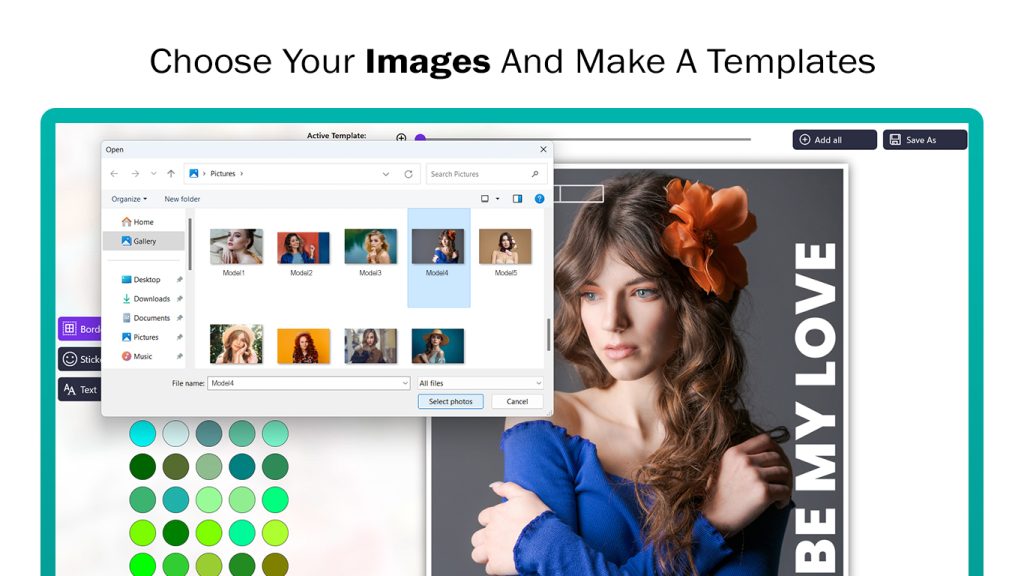
- After choosing the template, click on the gallery icon to select your photo and place it in the designated blank box.
Step 2:-
- Click on the ‘Add All‘ button and choose an image from your system gallery. Alternatively, click on the template’s ‘gallery icon‘ option to add an image.
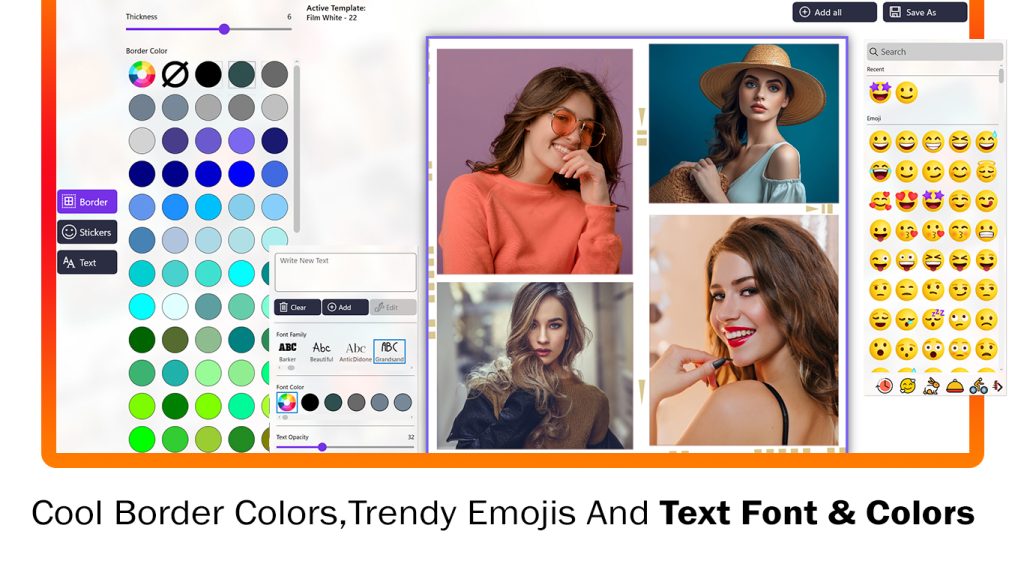
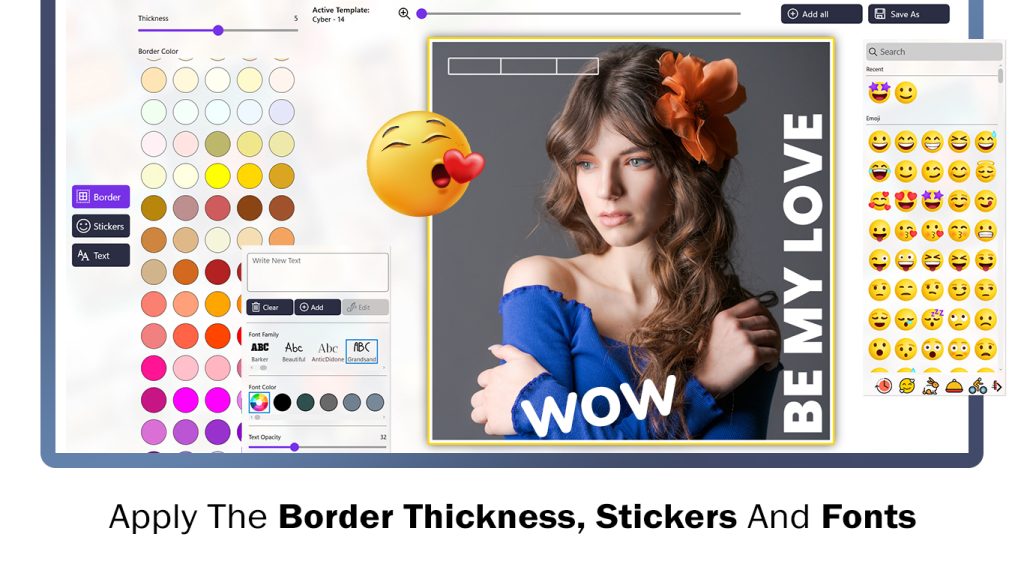
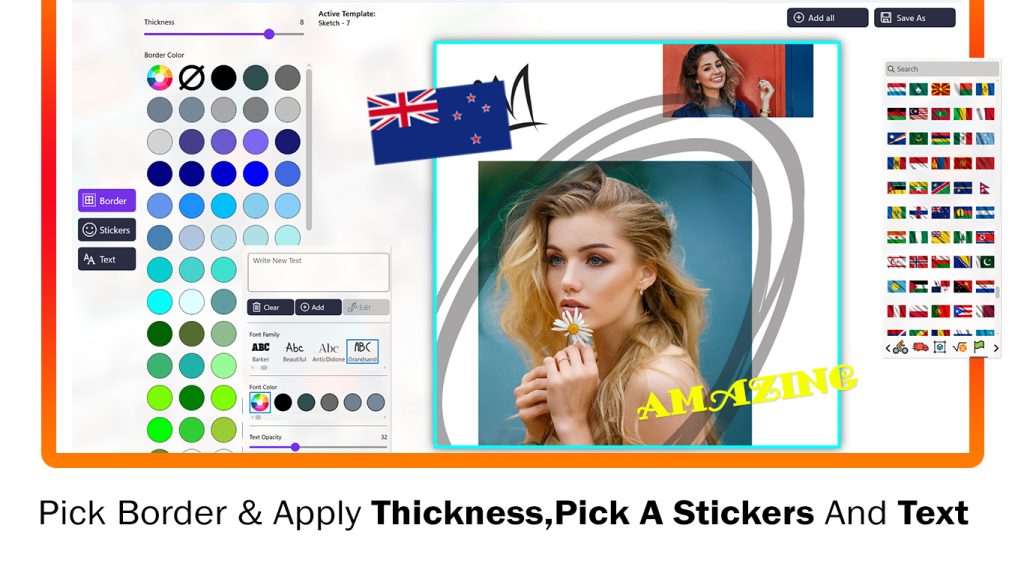
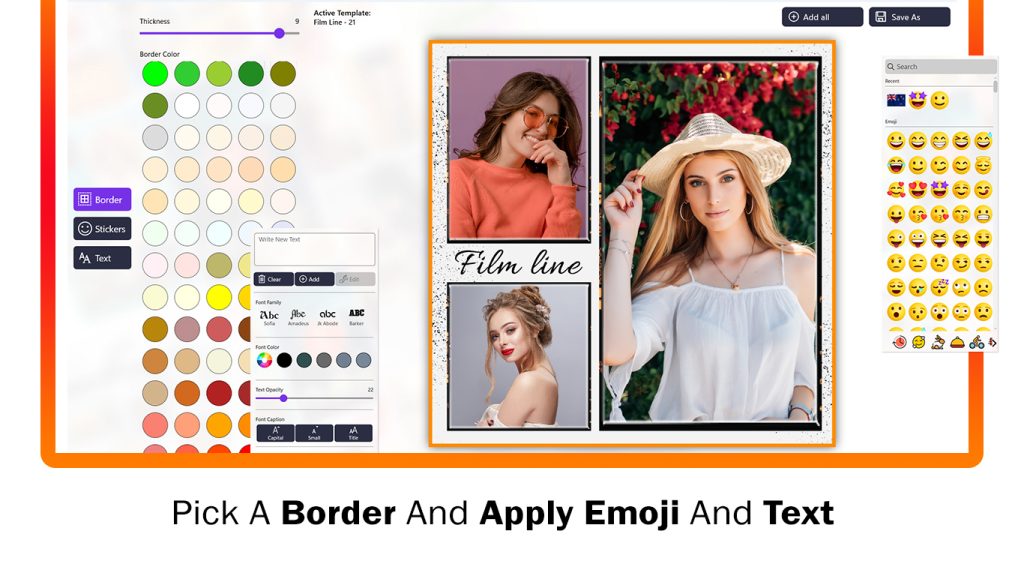
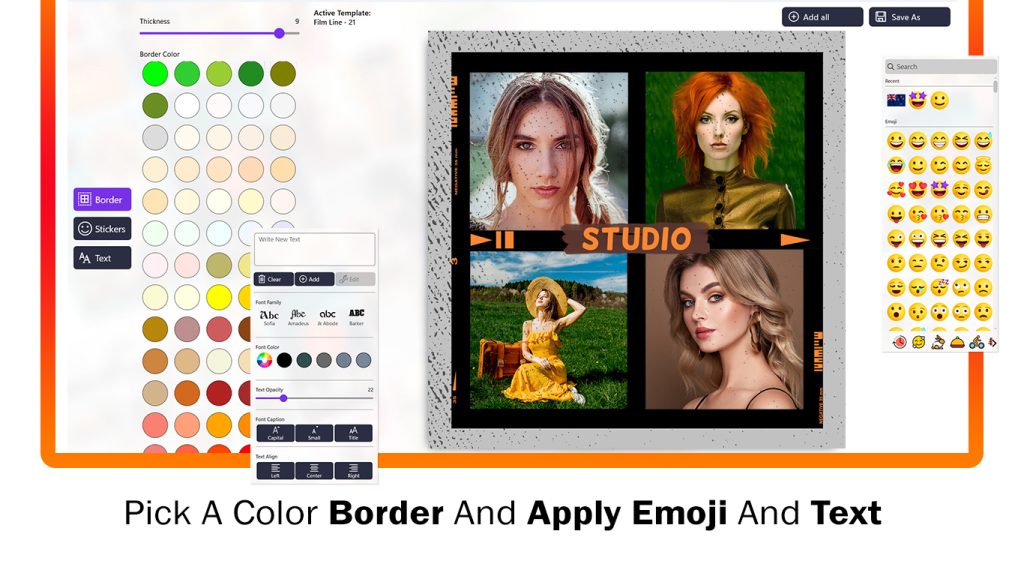
- Click on Border button and choose your border color and adjust border thikness and active template.
- Click on the Stickers button and apply trending stickers on your website.
- Click on the Text button to give a name to your template image creation. You can also adjust text color, add font styles, and change the text background color.
All done! Now, click on the ‘Save As‘ button to save your image creation. Then, start sharing with family and friends on your favorite social media platforms.
1 Photo :-
Step 1:- Click on the ‘1 Photo‘ button or choose your preferred option. Select your favorite template and open it.
step 2:-
- Click on the ‘Add All‘ button and choose an image from your system gallery. Alternatively, click on the template’s ‘gallery icon‘ option to add an image.
- Click on Border button and choose your border color and adjust border thikness and active template.
- Click on the Stickers button and apply trending stickers on your website.
- Click on the Text button to give a name to your template image creation. You can also adjust text color, add font styles, and change the text background color.
All done! Now, click on the ‘Save As‘ button to save your image creation. Then, start sharing with family and friends on your favorite social media platforms.
2 Photo :-
Step 1:- Click on the ‘2 Photo‘ button or choose your preferred option. Select your favorite template and open it.
- Click on the ‘Add All‘ button and choose an image from your system gallery. Alternatively, click on the template’s ‘gallery icon‘ option to add an image.
- Click on Border button and choose your border color and adjust border thikness and active template.
- Click on the Stickers button and apply trending stickers on your website.
- Click on the Text button to give a name to your template image creation. You can also adjust text color, add font styles, and change the text background color.
All done! Now, click on the ‘Save As‘ button to save your image creation. Then, start sharing with family and friends on your favorite social media platforms.
3 Photo :-
Step 1:- Click on the ‘3 Photo‘ button or choose your preferred option. Select your favorite template and open it.
- Click on the ‘Add All‘ button and choose an image from your system gallery. Alternatively, click on the template’s ‘gallery icon‘ option to add an image.
- Click on Border button and choose your border color and adjust border thikness and active template.
- Click on the Stickers button and apply trending stickers on your website.
- Click on the Text button to give a name to your template image creation. You can also adjust text color, add font styles, and change the text background color.
All done! Now, click on the ‘Save As‘ button to save your image creation. Then, start sharing with family and friends on your favorite social media platforms.
4 Photo :-
Step 1:- Click on the ‘4 Photo‘ button or choose your preferred option. Select your favorite template and open it.
- Click on the ‘Add All‘ button and choose an image from your system gallery. Alternatively, click on the template’s ‘gallery icon‘ option to add an image.
- Click on Border button and choose your border color and adjust border thikness and active template.
- Click on the Stickers button and apply trending stickers on your website.
- Click on the Text button to give a name to your template image creation. You can also adjust text color, add font styles, and change the text background color.
All done! Now, click on the ‘Save As‘ button to save your image creation. Then, start sharing with family and friends on your favorite social media platforms.
5 Photo :-
Step 1:- Click on the ‘5 Photo‘ button or choose your preferred option. Select your favorite template and open it.
- Click on the ‘Add All‘ button and choose an image from your system gallery. Alternatively, click on the template’s ‘gallery icon‘ option to add an image.
- Click on Border button and choose your border color and adjust border thikness and active template.
- Click on the Stickers button and apply trending stickers on your website.
- Click on the Text button to give a name to your template image creation. You can also adjust text color, add font styles, and change the text background color.
All done! Now, click on the ‘Save As‘ button to save your image creation. Then, start sharing with family and friends on your favorite social media platforms.

Photo Editor :-
Step 1:-
- Click on the ‘Photo Editor‘ button and choose your image from the system gallery.
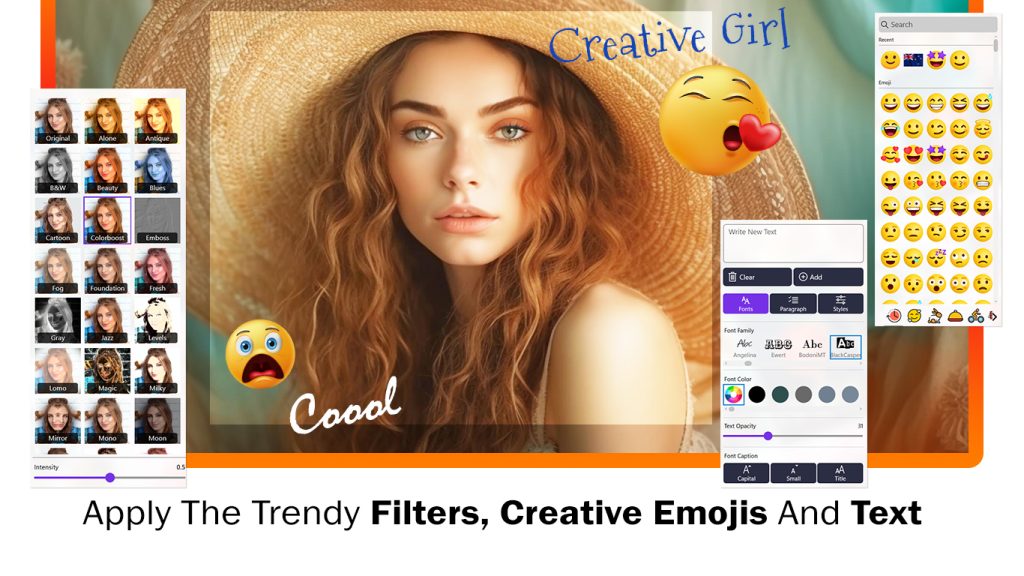
- After selecting the image, click on the ‘Effect‘ option and choose your favorite effect to apply it to your image creation.
- Click on the Stickers button and apply trending stickers on your website.
- Click on the Text button to give a name to your template image creation. You can also adjust text color, add font styles, and change the text background color.
- Click on the ‘Frame‘ button and choose your favorite frame to apply it to your photo edit creation.
- The ‘Crop‘ option helps you crop the image and adjust it to the perfect size.
Step 2:-
- Click on the ‘Frame‘ button and choose your favorite frame to apply it to your photo edit creation.
- The ‘Crop‘ option helps you crop the image and adjust it to the perfect size.
Step 3:-
All done! Now, click on the ‘Save As‘ button to save your image creation. Then, start sharing with family and friends on your favorite social media platforms.