One of the most versatile media players ever created, and among the most reliable video players in the store, this app distinguishes itself by allowing direct playback of any online link. Our stunning media player functions as both a live movie player and an audio player, with network streaming available—simply provide any URL.
The video player also supports subtitle tracks, offering the option to enable or disable the subtitle file. Users can add external subtitles, but to access them, the subtitle file must be selected from the provided path. The application supports almost all video formats.
It presents various video effects with full control, allowing you to slow down or fast-forward your video tracks. This free player supports all popular formats, enabling users to enable/disable or select available subtitle tracks. With a simple and enhanced user interface, it’s a user-friendly application that is easy to navigate.
The application also allows network streaming by providing a URL, simplifying the process. Screen capturing is available, offering an easy method to capture screenshots. Additionally, forward and backward jumps are possible with this software. Install and download the application to enjoy the experience.
Guide to Use: DVD & Video Player All Formats – XPlayer
Step 1: To proceed with using DVD & Video Player All Formats – XPlayer, click on the menu button to open the icons window. After clicking the menu icon, you can access various video player features.

Step 2:- Apply Some Video Player Tools:
Navigate to the bottom of the screen, where you’ll find several player tools.
- Click on the first icon to stop your video.
- Click on the second icon to rewind 10 seconds.
- Click on the fourth icon to play the previous video.
- Click on the fifth icon to restart your movie.
- To play or pause the video, simply click on the sixth/center icon.
Explore additional options, such as a 30-second forward, next video, and more.
Step 3:- Customize Your Video Player:
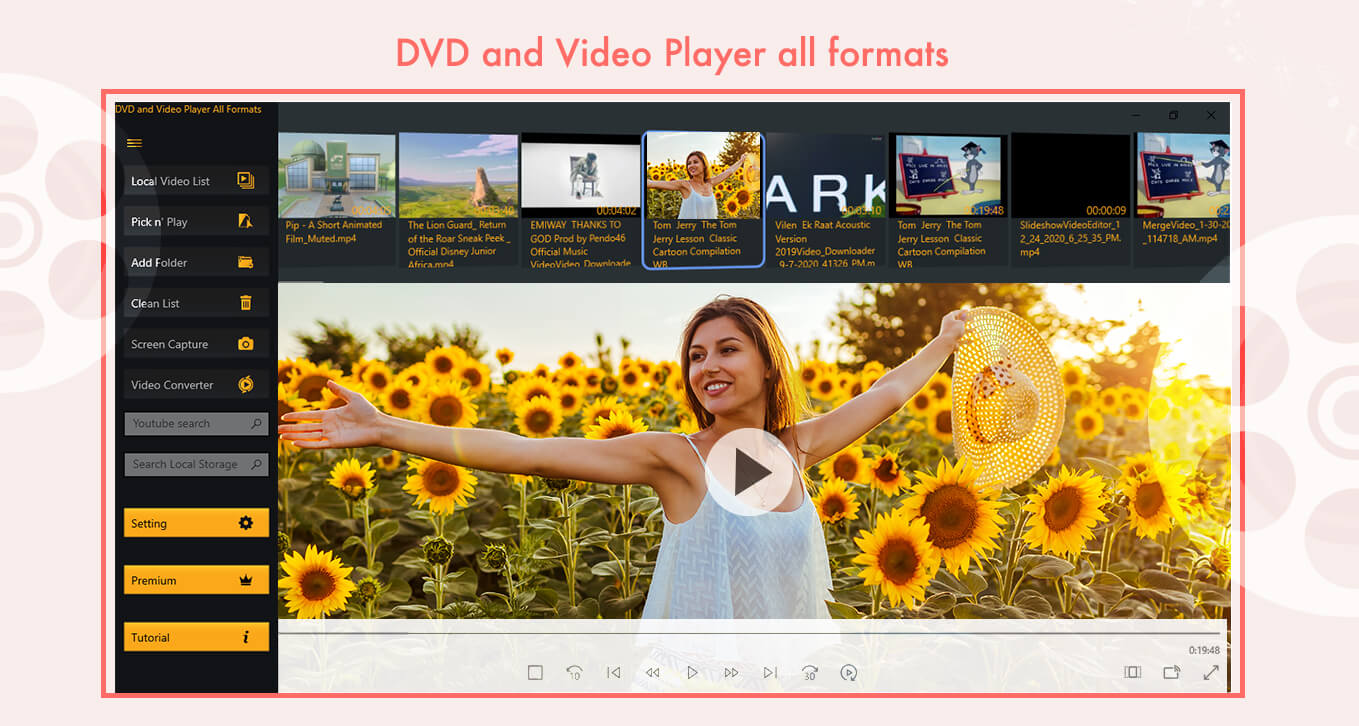
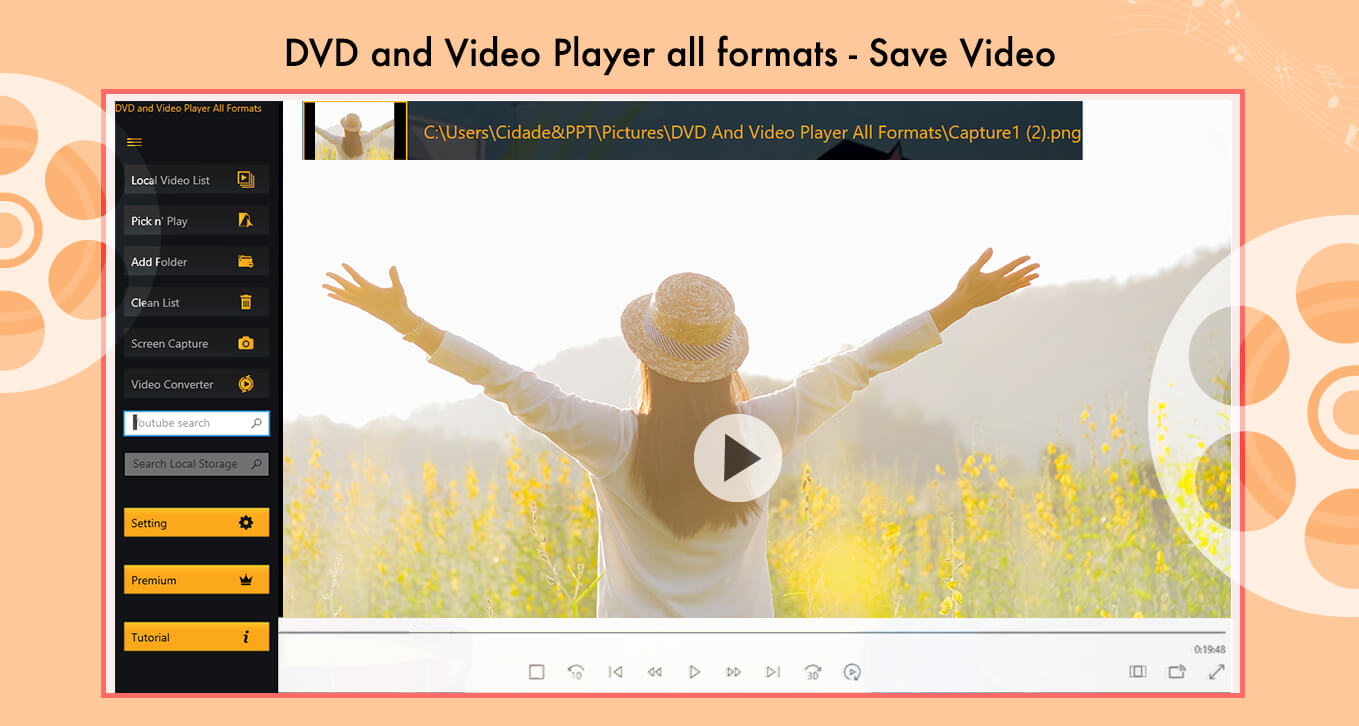
At the top-left corner, locate the icon with three bars to access the video player’s editing options. Clicking on it will reveal the following tools:
- Click on the “Local Video List” to open your computer videos directly on the video player screen.
- Choose “Pick n Play” to select your video from your PC.
- Use the “Add Folder” button to select a folder and add all videos within that folder.
- To remove video lists, click on the “Clean List” button.
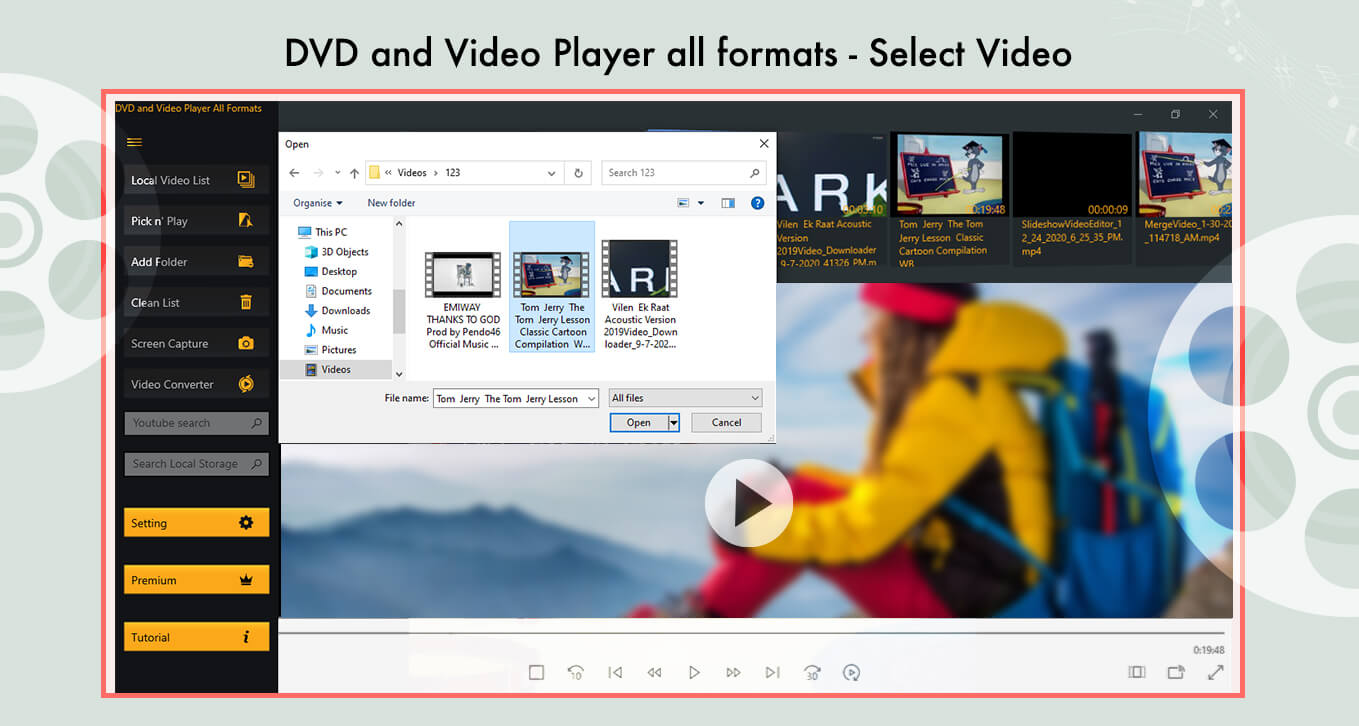
- Play your video and, when ready, click on the ‘Screen Capture’ button to capture your favorite shots. Additionally, select your video and click on the ‘Video Converter’ to convert it to another format.
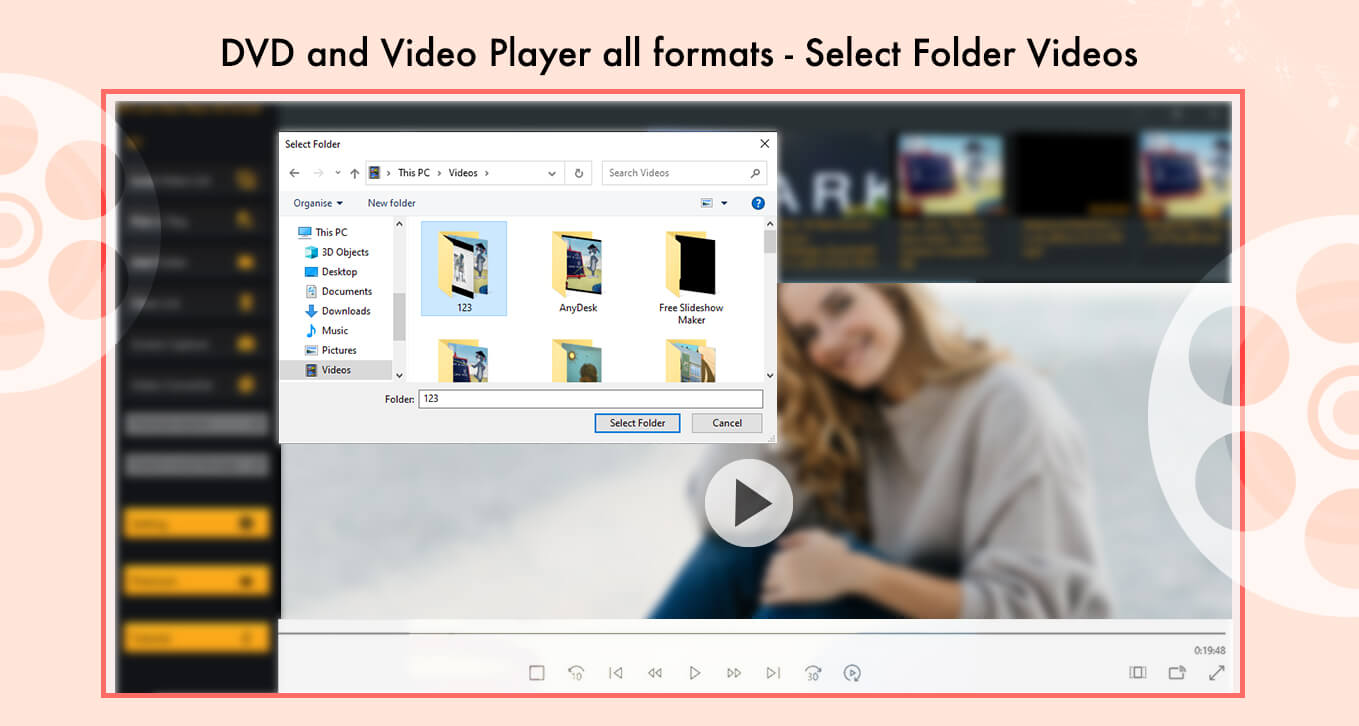
- Enter your video or movie name in the blank box to search for videos.
- Write the file name in a blank box to search for your local file.
- Click on “Settings” to adjust your video light, saturation, and other preferences.
Step 4:- Utilize Video Converter Tools:
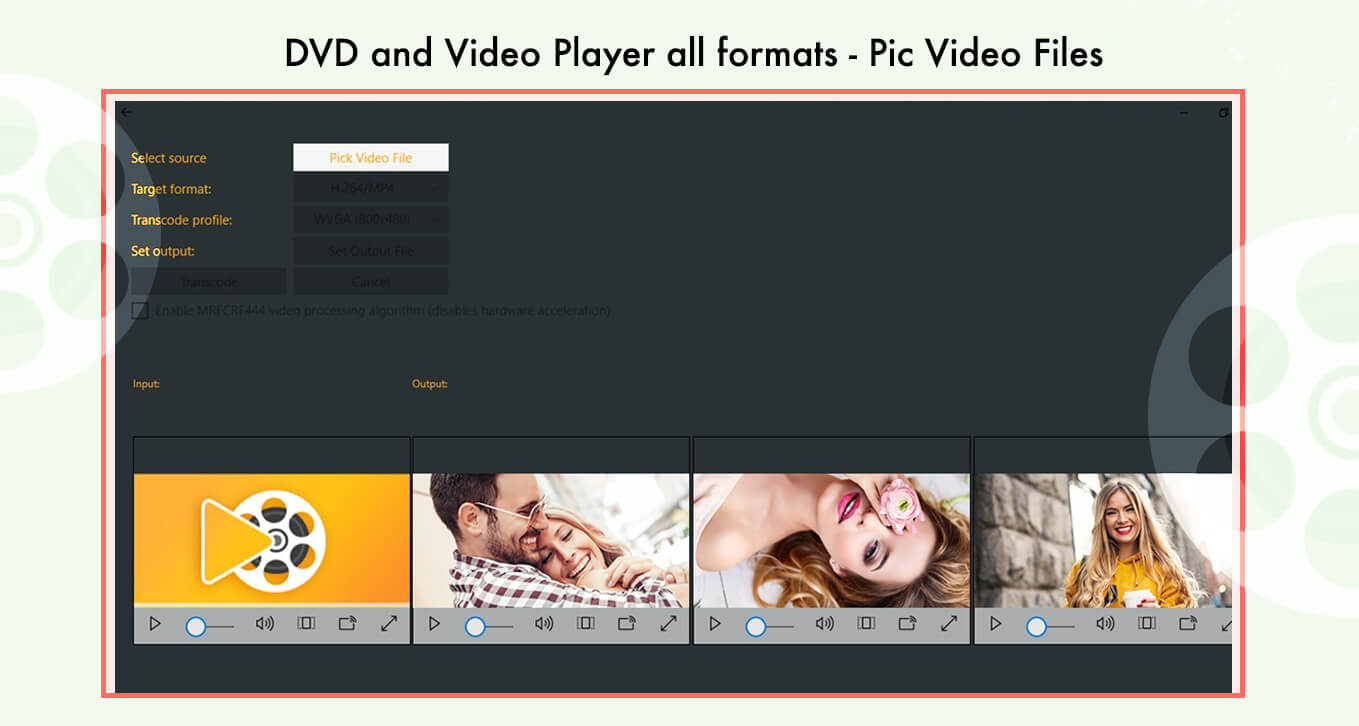
As we proceed further, explore the “Video Converter” tools with the following steps:
- Click on the video converter button, then select your video by clicking on “Pick Video File.”
- Choose your desired video format by clicking on the target format.
- Click on “Transcode Profile” and select the video resolution.
- Set the output location by clicking on “Set Output” and choose where you want to save your video.
- Finally, click on “Transcode” to initiate the video conversion process.
You can then view the output of your converted video.
Step 5:- Enhance Your Viewing Experience:
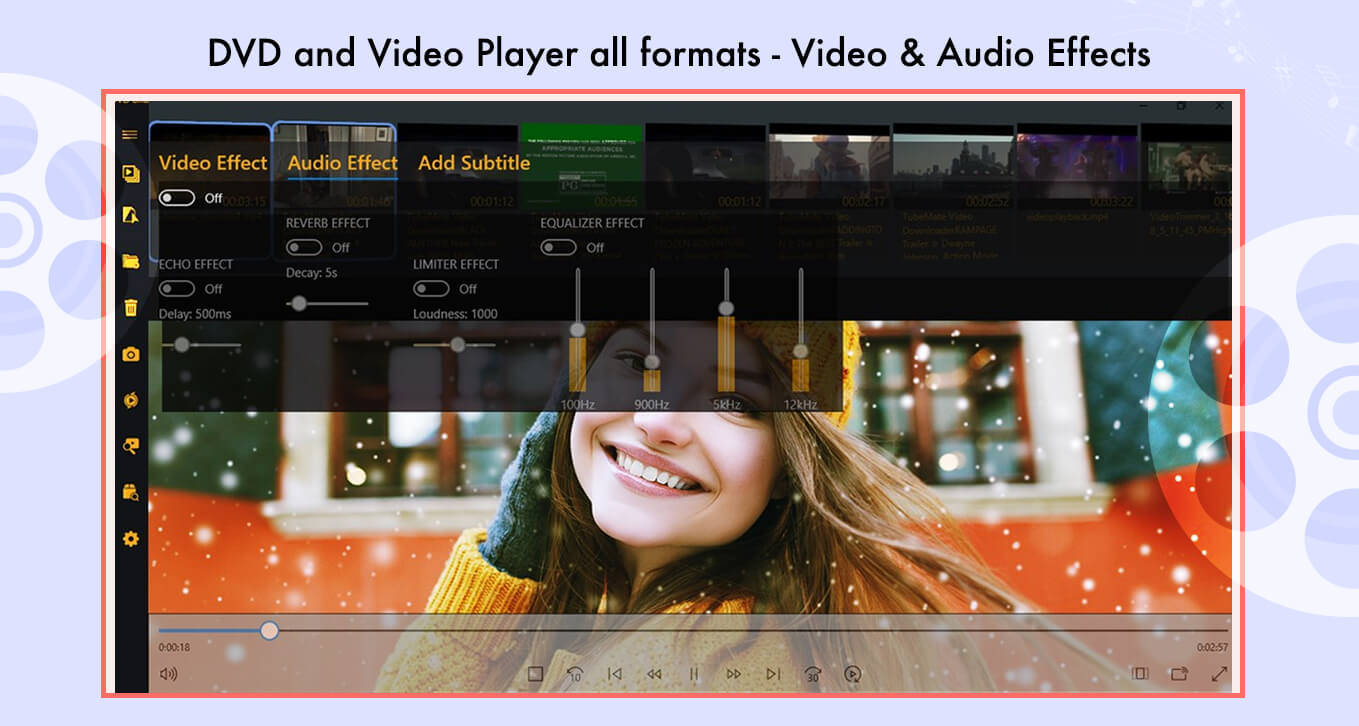
To proceed, click on the settings button and customize your video experience by adjusting Video effects, Audio effects, and adding subtitles.
- Click on “Video Effect” to fine-tune your video. Adjust parameters such as blur, contrast, and saturation quality using the slider.
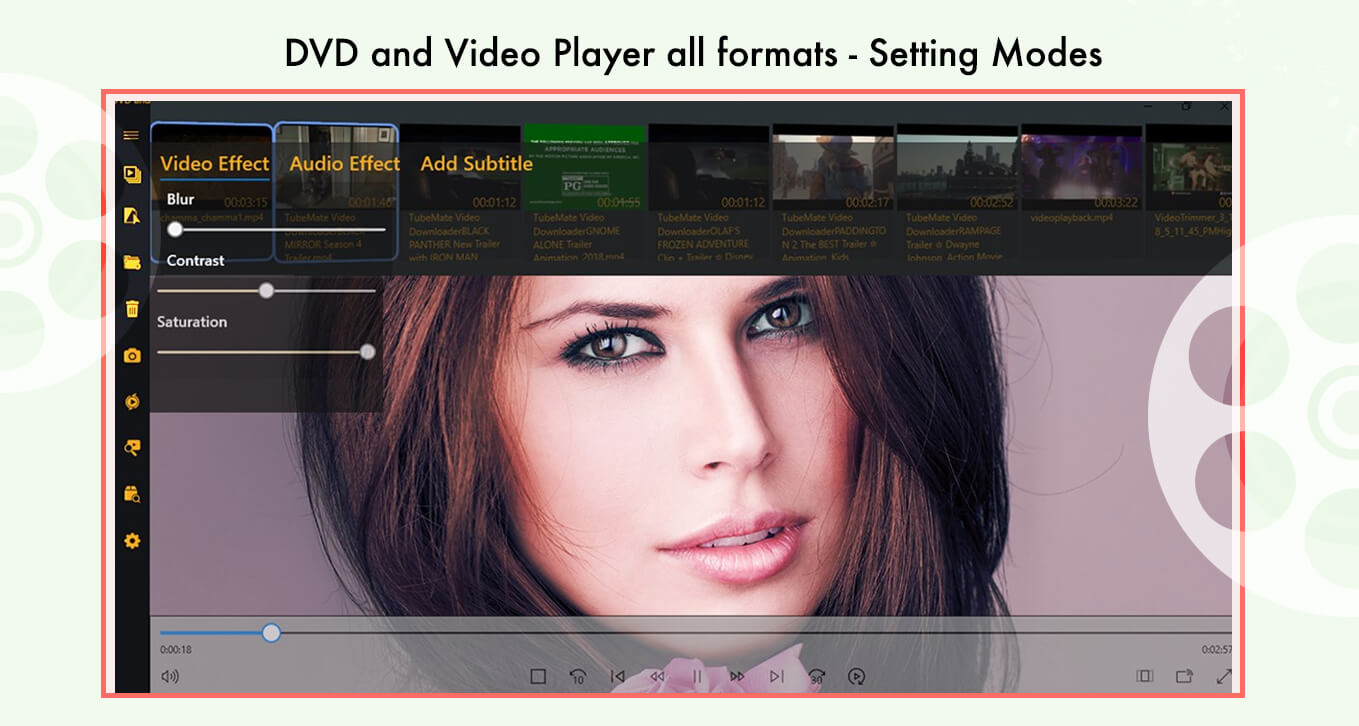
- Click on “Audio Effect” and fine-tune your audio experience by adjusting the presented audio effects with the toggle.
For subtitles, click on “Add Subtitle” and select a file from your device to enhance your video with subtitles.
