
Blur Photo Creator
The essence and quality of background blur can truly transform a picture, elevating its visual appeal and creating a super attractive and pleasing effect. The blur function is not just trendy; it’s a powerful tool that enhances the overall aesthetic. This application is meticulously designed for precisely blurring a picture’s background or foreground, adding a funky and trendy look effortlessly. You can quickly achieve professional-looking results with just the touch of your finger!

The popular blur effect in photography, which separates the subject from the backdrop by manipulating ‘depth of field,’ is commonly known as ‘background blur.’ The essence and quality of background blur can elevate a picture’s appeal, aligning seamlessly with current aesthetic trends.
This application is exclusively designed to add a stylish blur effect to the background or foreground of a picture, providing a funky and trendy look effortlessly. With just the touch of your finger, you can quickly blur your photos! This feature is particularly useful for obscuring unwanted objects, faces, or any elements you prefer not to showcase when sharing on social media.
And yes, it’s for real! The application allows you to precisely blur unwanted parts of a photograph. With Image Blur, simply draw a line in the foreground and another in the background, and watch the background beautifully blur. If there’s something in the background you don’t like, this tool enables you to easily blur the undesired parts.
‘BLUR PHOTO CREATOR’ also comes equipped with a variety of art filters to further enhance your images. The application not only blurs the image but also offers the option to apply various filters, decorating the photographs with different themes.
The contemporary filters provided by the application cover every genre, with a well-structured classification to help you beautify your images and infuse them with a soft tone. The app also features filters that can be applied to blurred photographs, enhancing their beauty. Editing options allow you to add color and vibrancy to your pictures. You can adjust features like murkiness, contrast, background, and erase undesired elements. Set text and emojis on your image, crop it as you like, and perform extensive adjustments such as rotation, brightness, contrast, sharpness, and more.
Guide to use: Blur Photo Creator
Step 1:- Getting Started
- We’re thrilled that you’ve installed our magnificent application on your PC or laptop, and we’re here to guide you in fulfilling your desire to blur unnecessary backgrounds and enhance your photos. Let’s dive in.
- Now that the application is ready to use, click on it to launch and embark on this enriching experience.
- The app presents two options: Camera and Gallery. Choose either to select a photo from the system gallery or capture a new image.
- Proceed to crop and rotate your image, and you also have the option to flip it. Once you’re satisfied with the adjustments, click on the “Crop & Next” button to proceed.

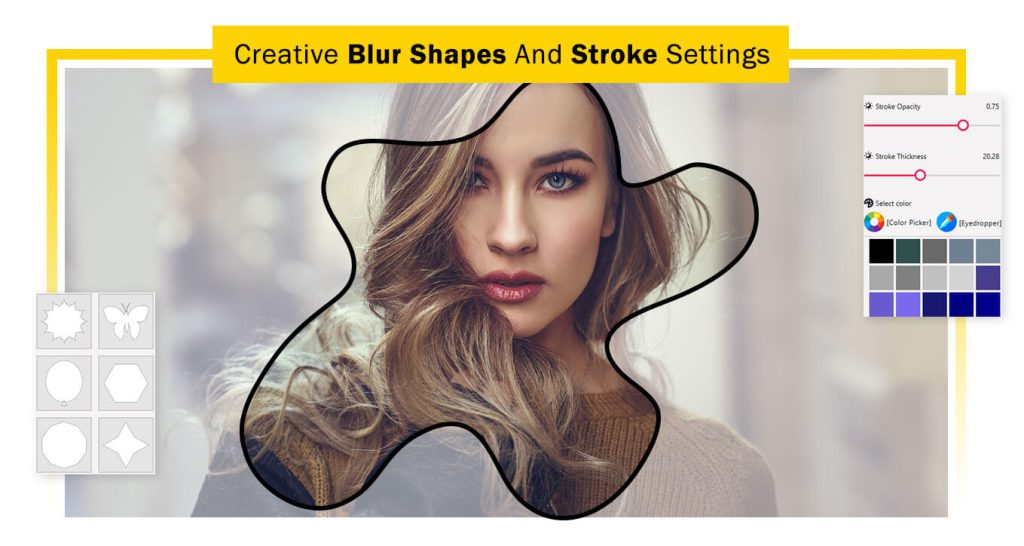
Step 2:- Adding Blur Shapes
- Click on “Blur Shapes” and choose your favorite shapes to apply. Customize the color for the blur shapes according to your preference. You also have the option to set a stroke for the shapes, offering further customization to enhance your photo.
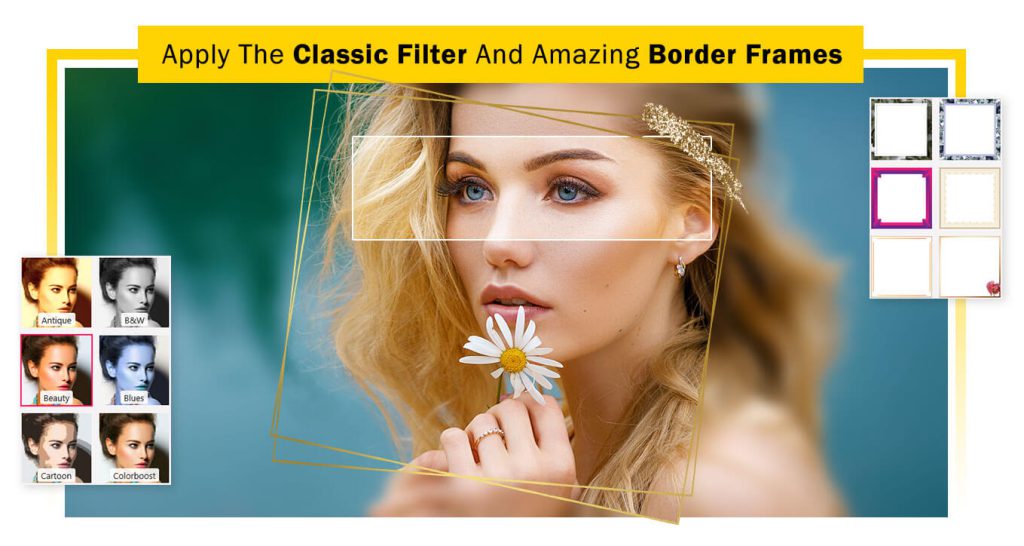
Step 3:- Enhancing with Filters and Frames
- Now, click on the “Filter” button to choose from a variety of filter effects for your image creation. The app provides a wide range of trendy filters for you to explore. Select your favorite filter effect and apply it to enhance your image.
- The “Frames” button allows you to add stylish borders or frames around your image, enhancing its overall appearance. Experiment with different frames to find the one that suits your image best.
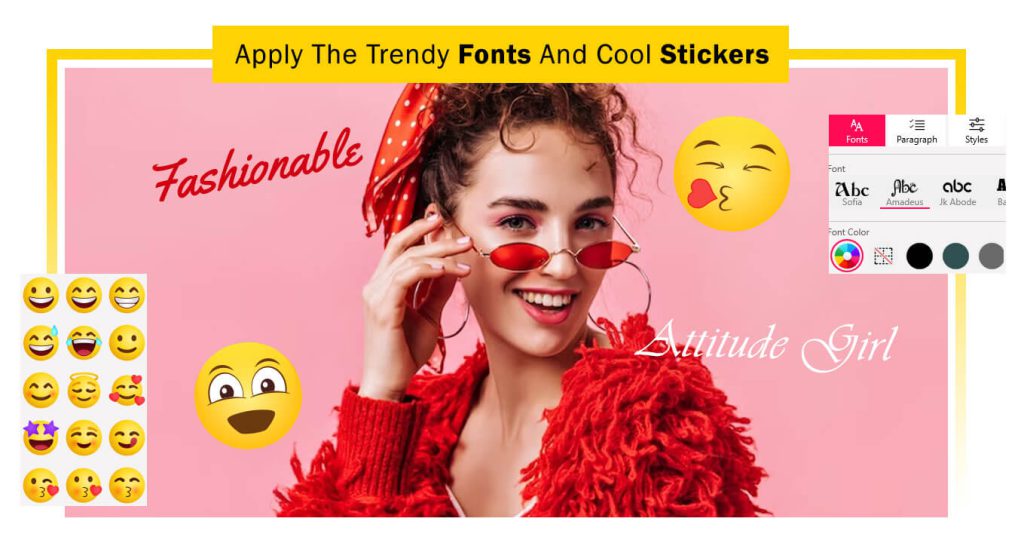
Step 4:- Adding Stickers and Text
- Explore the “Stickers” button to add trendy stickers that complement your image creation. Choose from a variety of stickers to personalize your photo.
- The “Text” button lets you add text or give a name to your image creation. Customize the text by changing its color, font style, size, and more. Express your creativity by adding personalized messages, captions, or any other text element to enhance your image.
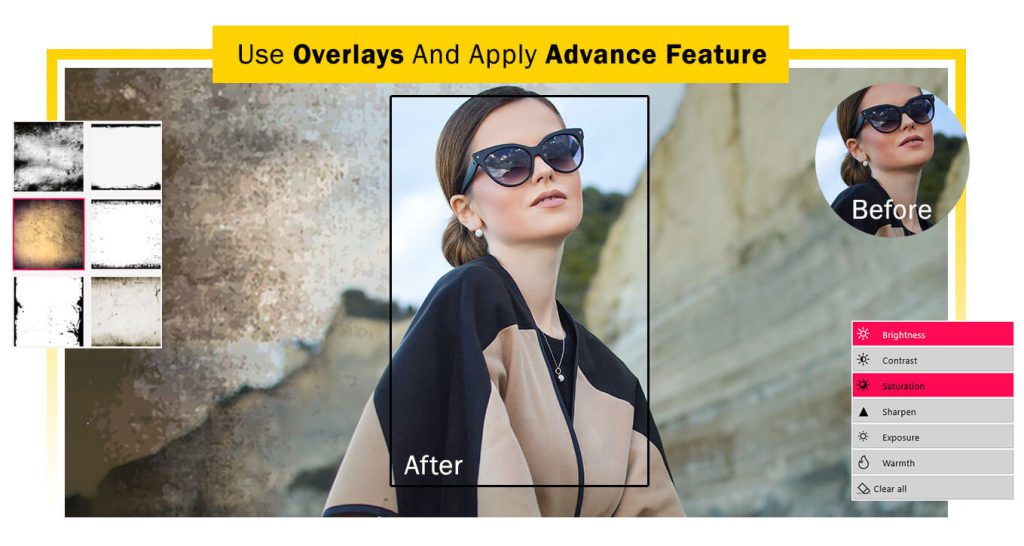
Step 5:- Enhancing with Overlays and Adjustments
- Explore the “Overlays” option to apply captivating overlay effects to your image creation. Choose from a variety of overlays and apply your favorite one. These overlays add additional elements, textures, or visual effects to your image, enhancing its overall look and feel.
- The “Adjustment” feature empowers you to make various adjustments to your image, such as brightness, contrast, sharpness, and more. Fine-tune the visual aspects of your image with this feature, achieving the desired look and enhancing its overall quality. Experiment with different adjustments to perfect the appearance of your image.
Step 6:- Saving and Sharing
- Once you’ve completed your editing and blurred the image to your satisfaction, save it in your device’s gallery. Share your creatively enhanced image with friends and family to spread the joy of your artistic endeavors.